I've been missing in action for the last coupla days. I wasn't well, but mainly that life's been a little hectic! I know excuses...excuses!
So to make up for the lost time, I thought why not post something that reminds you of the 'not so cold days'. Apple oatmeal crumble or rather Apple banana oatmeal crumble. If I had any other fruit, I would have added that in as well. Trust me for going overboard sometimes. Anyway, coming back to the crumble, I've made this around the apple picking season in fall, but I love the taste and aroma of apple/oatmeal/brown sugar so much that I didn't mind making this around this time of the year. Is it spring yet?
So to begin with, this is my very own recipe. Are you worried yet?
Recipe for Apple Banana Oatmeal crumble
(courtesy Chitra Mehta)
Servings: 5 12-oz ramekins
Prep time: 25 minutes
Bake time: 15 minutes
Ingredients:
3-4 medium sized apple (you can use any kind!)
1 riped banana
3/4 cup oats
1/2 cup whole wheat flour filled to the top
3/4 cup brown sugar to taste
1 tbs low fat yogurt
1/2 cup orange juice (I used Trader Joe's orange banana juice, you can use plain orange juice - store bought or fresh)
1/2 tsp vanilla extract
1 tsp cinnamon
1/2 tsp nutmeg powder
pinch cayenne and pinch salt
2 tbs olive oil - Can be replaced with 4 tbs of butter
1 tbs maple syrup
A little honey to drizzle on top before baking
Preheat oven to 400 degree Celsius.
Take about 3/4 cup oats and pour it into a mixing bowl
Take about 1/2 cup whole wheat flour and add it in as well
Adding in 3/4 cup brown sugar or more depending on taste
I added in 1 tbs cinnamon, ignore and stick with the 1 tsp. Please!
1/2 tsp nutmeg powder only. Glad you're listening to me so far! No I mean it!
He he! For the kicks, add in a pinch of cayenne. Mine's slightly more than a pinch! You can choose to leave this out totally!
Mix it all in.
Banana...mash it in
Chop apples and throw them into the mixture. Trust me it can't get simpler than this.
Add in vanilla extract
Yes a tbs of low fat yogurt. Mine's a little more, again I don't follow recipes exactly, even if they're mine. ;)
Adding in orange juice, you can use freshly squeezed. I am big on this, but I didn't have any fresh oranges.
Some olive oil.
Mix it in with a spoon.
Or you're hand, it's always much better this way! Avoid licking you're hands...
1 tbs maple syrup...Aah!!
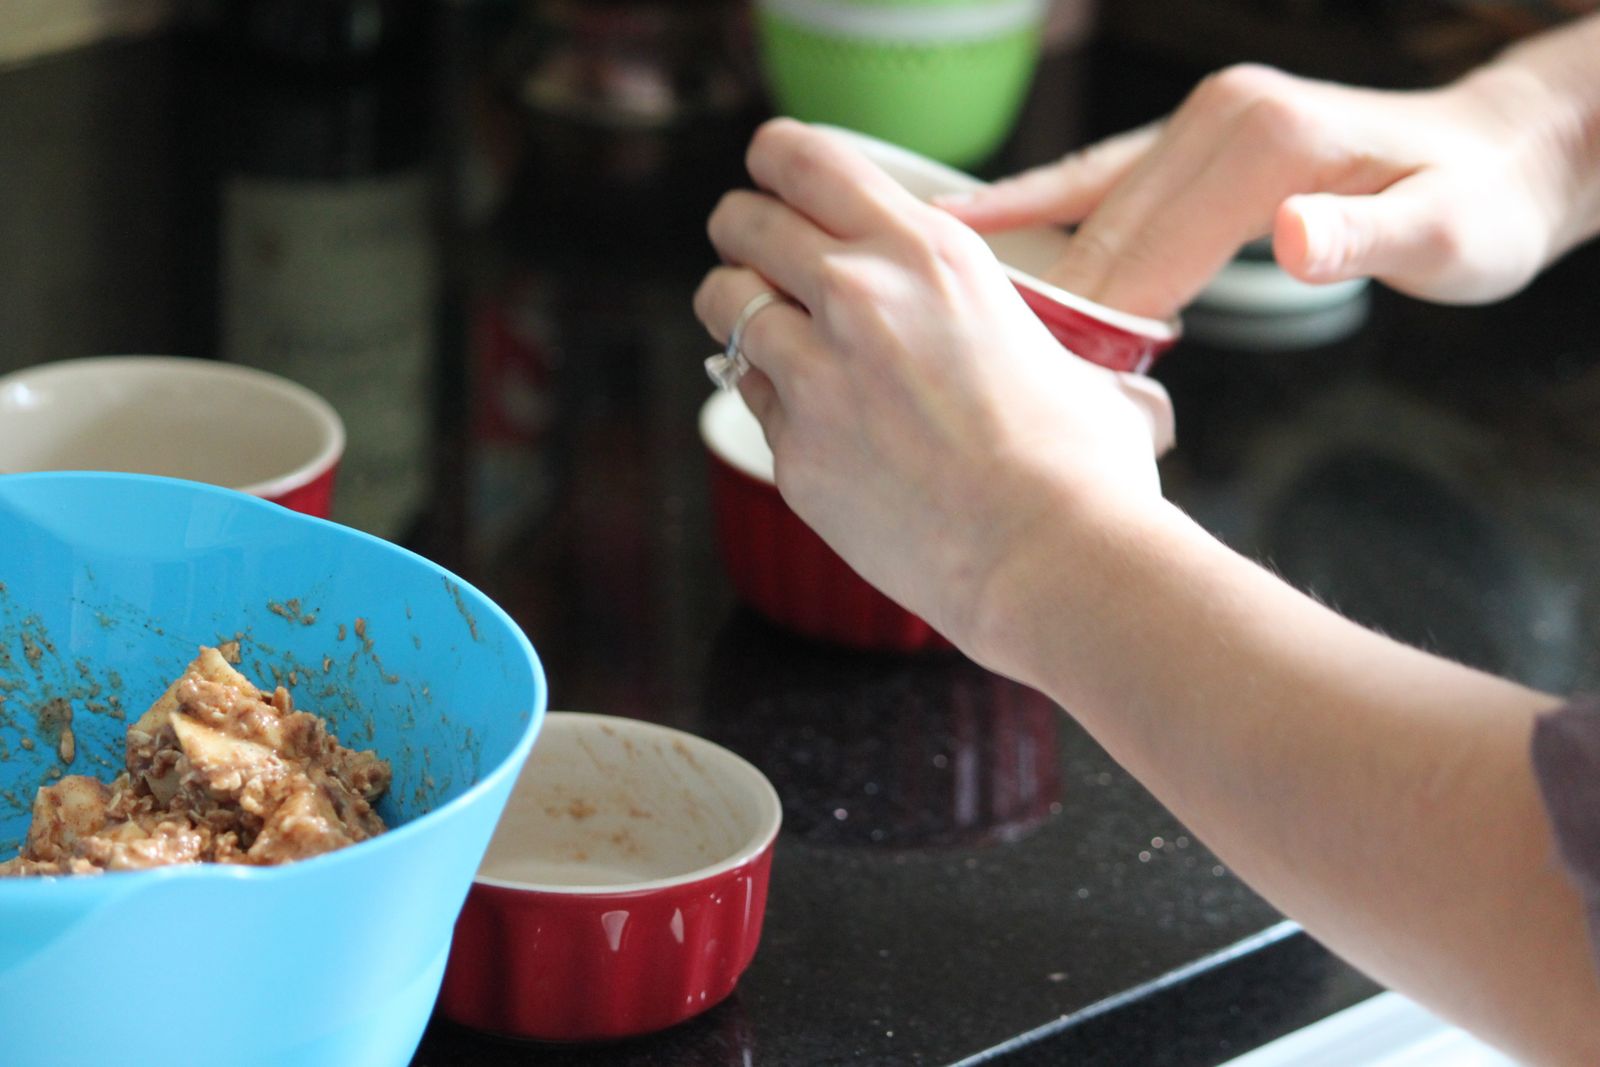
I used the same mixture to rub it in the ramekins. You can coat it with Pam baking spray.
Drizzle some honey on top and you're good to go.
Put them in the preheated oven for about 15 minutes. Check them after that for doneness. If the oatmeal isn't browned completely, put it in for another 2-5 minutes.
Ta da da!!


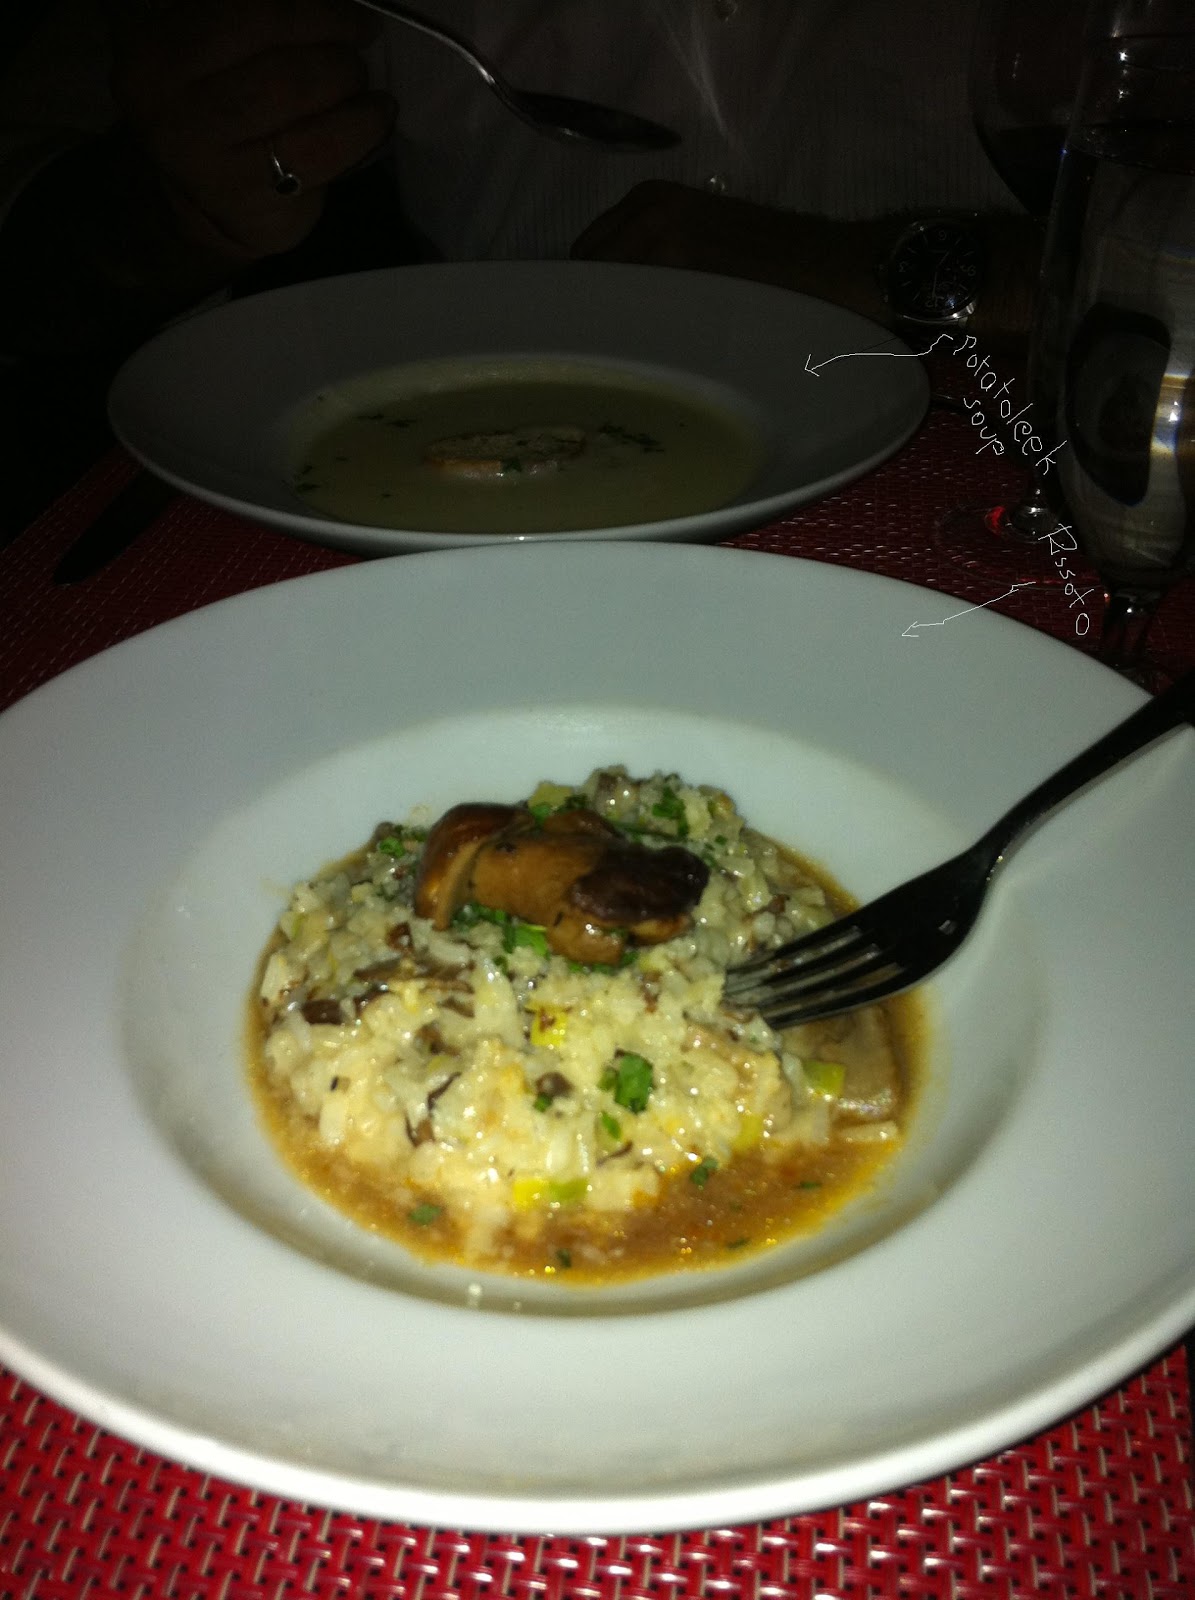
 My MS Paint skills need some work!


